

今回は会員認証機能を作っていきます。
要件としてはユーザー側と管理者側両方を作成していきます。
前回の記事の続きや別の場所で開発する人は以下のコマンドを実行しましょう。別ブランチで作業して開発ブランチにマージします。
$ git branch ブランチ名(私の場合は1_user_admin)
$ git checkout ブランチ名(私の場合は1_user_admin)Deviseの導入
会員認証機能を作成するためにはGem : deviseを活用します。
まずGemfileに以下を追加します。
gem 'devise'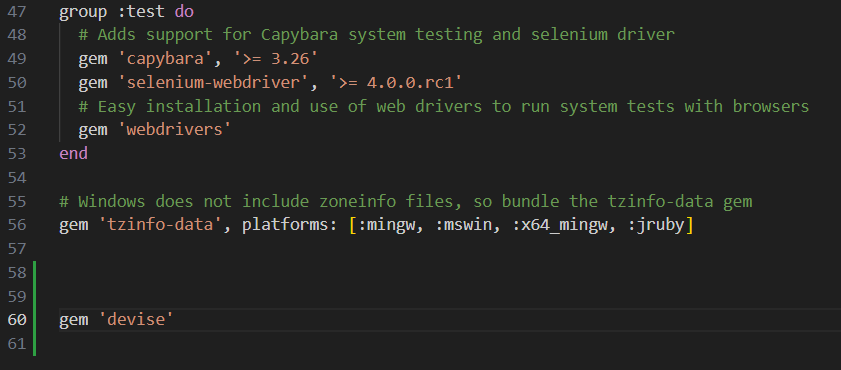
追加したdeviseをインストールします。
$ bundle install
このような出力になれば成功です。
deviseのインストール
deviseはGemのインストール後もう一度インストールする必要があります。
$ rails g devise:install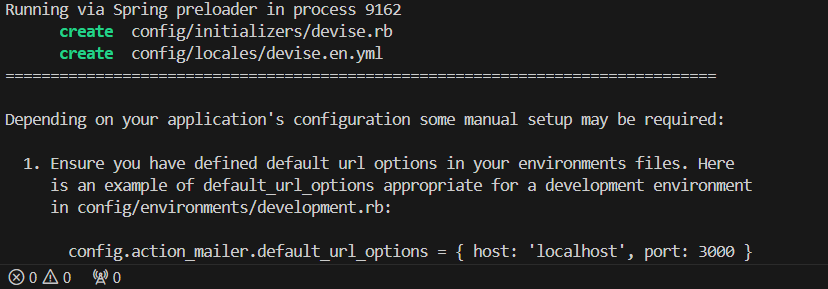
createが出力されれば成功です。
deviseによる操作
Model
ユーザーモデルはUser,管理者モデルはAdminとします。
# deviseのModel作成
$ rails g devise Model名
今回は以下のコマンドを実行します。
$ rails g devise User
$ rails g devise Admin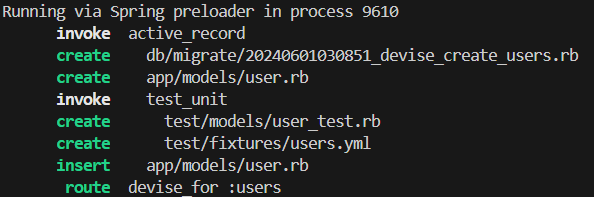
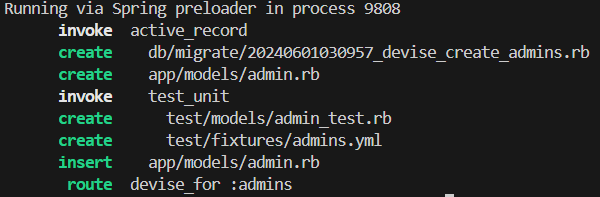
画像のような出力になれば成功です。
ユーザーテーブルの変更
db/migrate/_devise_create_users.rbにて以下を追加します。名前には「NOT NULL」,ユーザーステータスにはデフォルト値を付けます。
t.string :name, null: false
t.string :introduction
t.boolean :is_active, default: true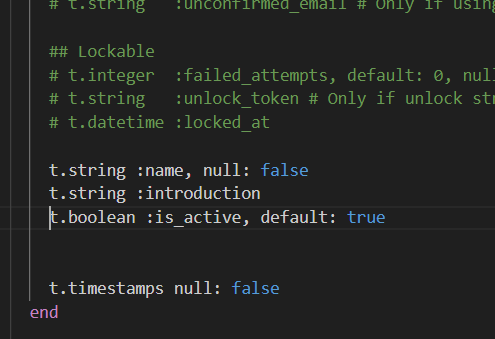
データベースへマイグレーションします。
$ rails db:migrate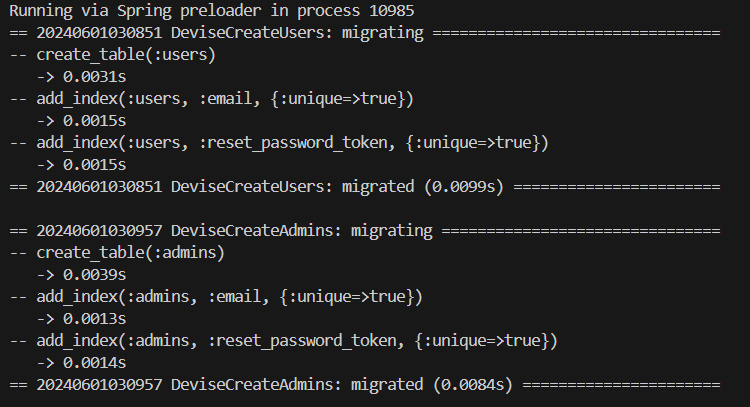
controller
今回はユーザーと管理者の使い分けが必要になるのでコントローラーを作成していきます。ユーザー側をuser,管理者側をadminで分けます。
# deviseのコントローラー作成コマンド
$ rails g devise:controllers 名前
$ rails g devise:controllers user
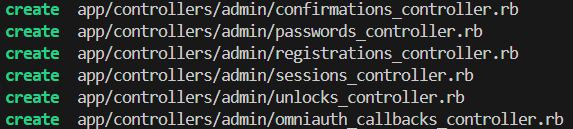
$ rails g devise:controllers admin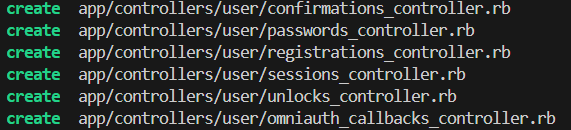
view
# deviseにおけるviewの作成コマンド
$ rails g devise:views 名前s
$ rails g devise:views users
$ rails g devise:views admins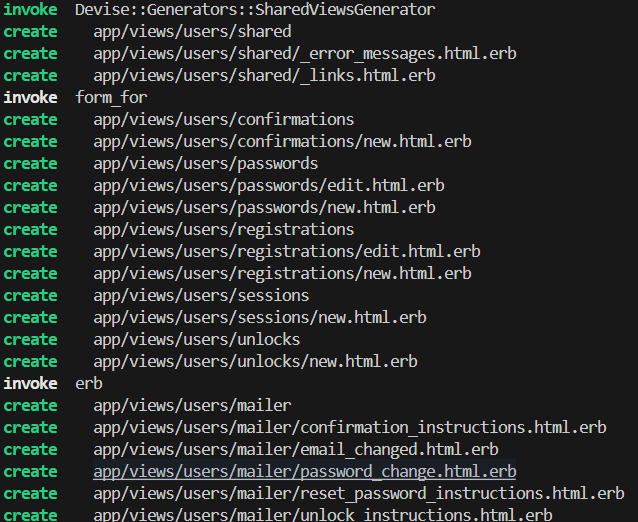
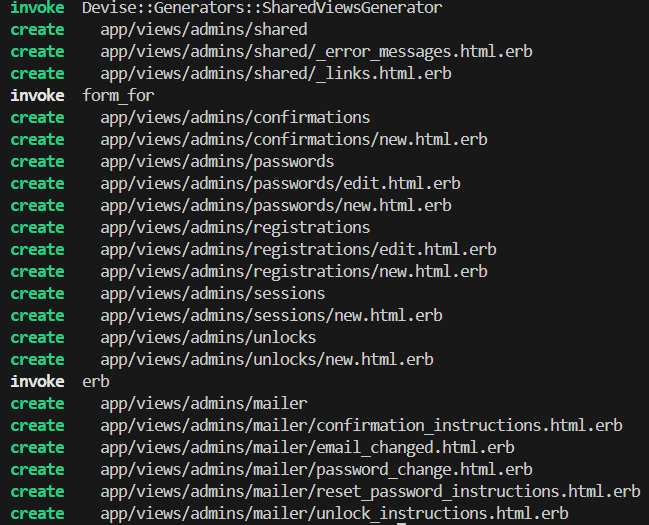
作成されたviewフォルダ名をusersからuserに,adminsからadminに変更しましょう。
viewの編集
ファイルを以下のように変更します。
# app/views/admin/sessions/new.html.erb
<%= render "admins/shared/links" %>
↓(変更)
<%= render "admin/shared/links" %>
# app/views/user/registrations/new.html.erb
<%= render "users/shared/error_messages", resource: resource %>
↓(変更)
<%= render "user/shared/error_messages", resource: resource %>
<%= render "users/shared/links" %>
↓(変更)
<%= render "user/shared/links" %># app/views/user/sessions/new.html.erb
<%= render "user/shared/links" %>
↓(変更)
<%= render "user/shared/links" %>Routing
# config/routes.rb
devise_for :admins
devise_for :users
以下のように変更します。adminはログインのみです。
# config/routes.rb
devise_for :admins, controllers: {
  sessions: "admin/sessions"
}
devise_for :users, controllers: {
  registrations: "user/registrations",
  sessions: "user/sessions"
}
user/users,user/homes,admin/homesコントローラー作成
コントローラーの作成は以下のコマンドを実行します。
$ rails g controller コントローラー名 (viewが必要なアクション名)しかし,今回は機能を分けている観点でフォルダ分けをします。ではusersコントローラーを作成します。
$ rails g controller user/users index show edit
user配下にusers_controllerが作成されています。
同様に以下のコマンドを実行します。
$ rails g controller user/homes top about
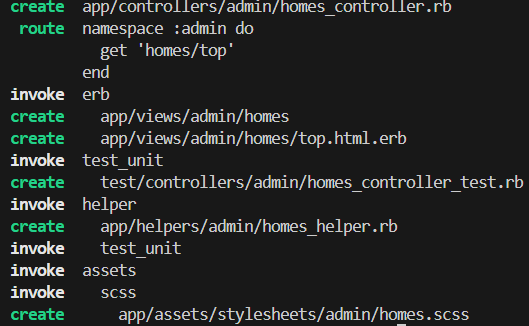
$ rails g controller admin/homes top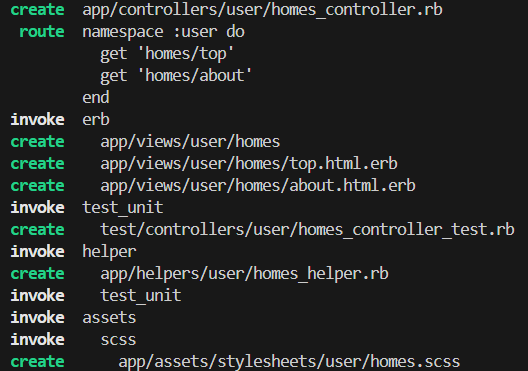
routing
scope module: :user do
  root to: 'homes#top'
  get '/about' => 'homes#about'
  resources :users, only: [:index, :show, :edit]
end

namespace :admin do
  get 'homes/top' => "homes#top"
end
詳細機能
遷移先の設定
ユーザー側のサインアップ後の遷移
# app/controllers/user/registrations_controller.rb

protected

def after_sign_up_path_for(resource)
    # 遷移先のパス
    user_path(current_user)
end
ユーザー側のログイン後の遷移
# app/controllers/user/sessions_controller.rb

protected

def after_sign_in_path_for(resource)
    # 遷移先のパス
    user_path(current_user)
end
ユーザー側のログアウト後の遷移
# app/controllers/user/sessions_controller.rb

protected

def after_sign_out_path_for(resource)
    # 遷移先のパス
    about_path
end
管理者側のログイン後の遷移
# app/controllers/admin/sessions_controller.rb

protected

def after_sign_in_path_for(resource)
    # 遷移先のパス
    admin_homes_top
end
管理者側のログアウト後の遷移
# app/controllers/admin/sessions_controller.rb

protected

def after_sign_out_path_for(resource)
    # 遷移先のパス
    about_path
end
管理者側のデータを事前に保存する
seedファイルを用います。
# db/seed.rb

Admin.create!(
  email: "a@a",
  password: "123456"
)
記述後以下のコマンドを実行します。
$ rails db:seed新規登録ページの編集
# app/views/user/registrations/new.html.erb

  <div class="field">
    <%= f.label "名前" %><br />
    <%= f.text_field :name %>
  </div>

  <div class="field">
    <%= f.label "紹介文" %><br />
    <%= f.text_field :introduction %>
  </div>
# app/controllers/user/registrations_controller.rb
  before_action :configure_sign_up_params, only: [:create]

  def configure_sign_up_params
    devise_parameter_sanitizer.permit(:sign_up, keys: [:name,:email,:introduction])
  end
これで新規登録が出来るようになりました。
認証機能はこちらで完成です。
しかしこれでは会員周りが全然できていないので以下のタスクを考えてみてください。
Controller・View(抜粋)
この部分ではController・Viewは主に皆さんに考えてもらいながら実装してもらいます。
タスク1 : まずは共通部分(application.html.erb)の作成ですね。アプリ&Bootstrapのページを参考にヘッダーのハンバーガーメニューを作成してください。ログイン前、会員、管理者の3種類のヘッダーに分岐させる必要があります。
またfooterはアプリを参考に作成してください。
タスク2(任意) : main部分ですが,application.html.erbの部分にcontainerを加えておきましょう。
<main>
  <div class="container">
    <%= yield %>
  </div>
</main>
タスク3 : 新規登録&ログイン後は会員の詳細ページに飛ぶのでuser/showの作成。Contorollerに変数定義。部分テンプレートを使用すると良いと思います!
タスク4 : 会員一覧ページを作成しよう。会員データをUser.allで取得し,each文で表示する。
タスク5 : 会員情報変更機能を作成しよう。Editページでupdateアクションを動かせるようにする。